I've been playing around with something I gleaned from looking at the wonderful work of The Filigree (http://www.etsy.com/shop/thefiligree?ref=seller_info). I love the overall pattern on some of the pieces and especially as a pattern on the clothing of figures. I thought it would be a fun addition to some of my figures. I pored over the pictures, trying to figure out if it was fabric on polymer clay, or painted. My friend Ang suggested I ask the artist. Der! I sent a message to the artist, who confirmed that it was indeed fabric. He didn't send me a tutorial, but I didn't expect that. If you asked me how I sculpted my pieces, I couldn't tell you in a paragraph. It takes practice and experience, so I forged ahead! Here's some pictures of this piece in progress. I'm having fun with it. Please ignore the hands, arms and face. I'm not happy with them, but since now she has this cute little Watteau dress, I have a clearer idea of who she is and can rework her. This piece may come out a bit overworked, but I think she'll be fun.

Here's the beginning. I drilled a hole in a piece of wood and make an armature with an extension on it that would go in the hole, so she'd stand on her own. Then, I roughed out some shape in foil. I wanted a demure little hip shift, which is why the right leg looks odd in this pic.
Here's the start of her head and legs.
This is a photo I found on the internet. It's a piece of antique lace. I played with the color in Photoshop, tiled it and printed it on a piece of silk organza. I love making my own fabrics!
Here she is, starting to have her fabrics on. The check is another image from the internet recolored and manipulated and printed on organza.
Another view. There's going to be some real fabric lace on there when she's done. I have her Watteau back done and it's pretty cool, but the camera battery ran down! You'll have to wait until later to see it!
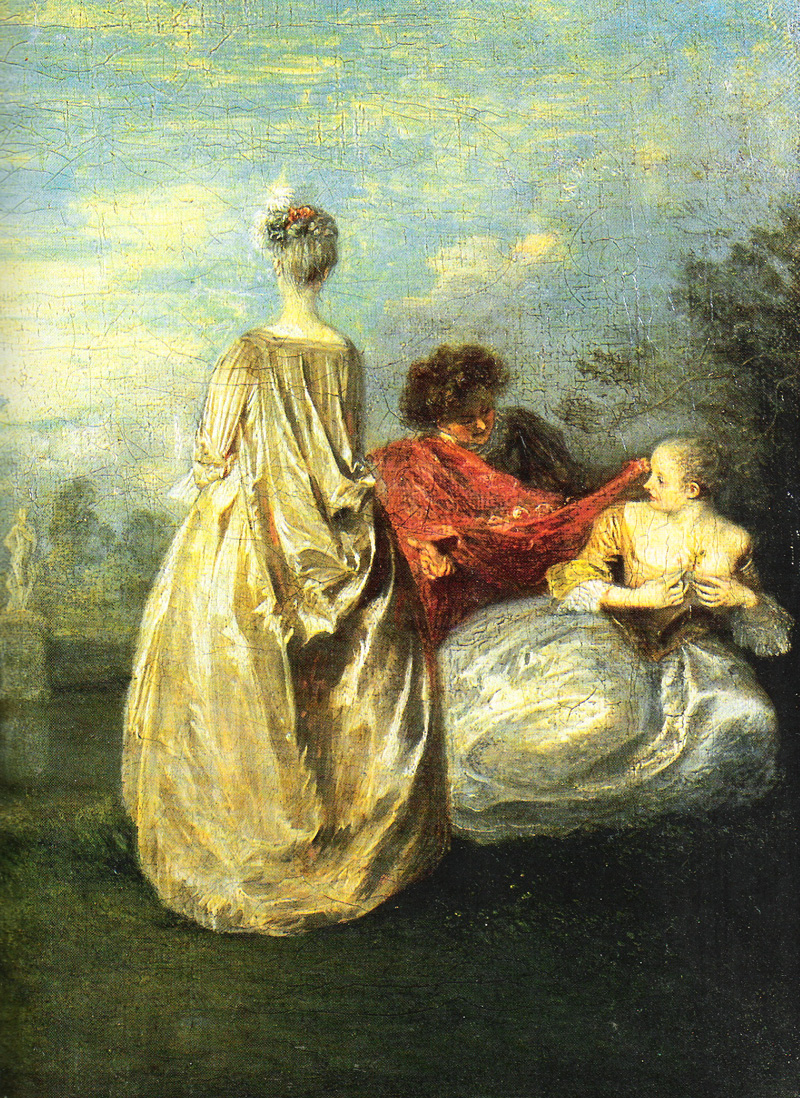
For those of you wondering what a Watteau back is, it's a style popular in the 18th century. It's named after Jean-Antoine Watteau, a French painter of the period who painted a lot of wealthy fashionable people. Here's an example:
It's not a cape, but rather a train that is one piece with the skirt, but attaches at the back of the neckline. There's your costume history lesson for the day!
In other news, these silly guys are coming along! Can't wait to get them dressed!